


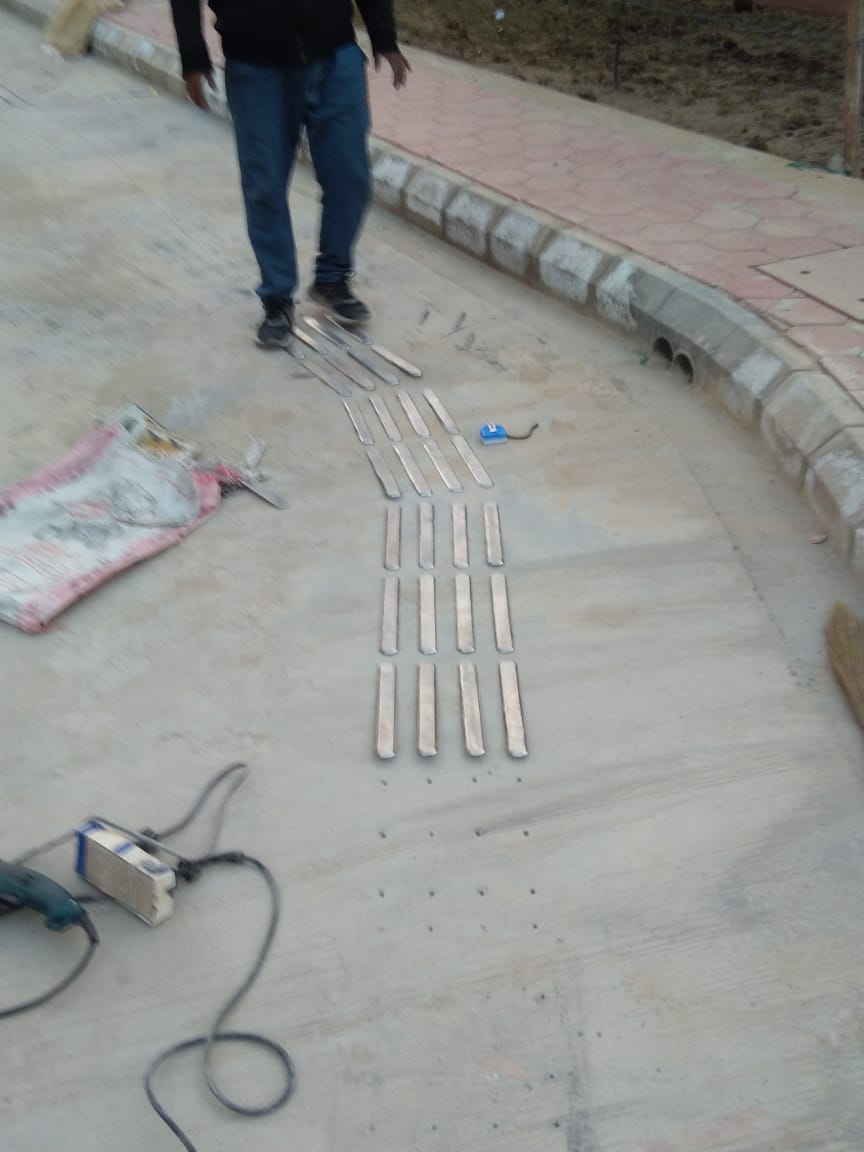
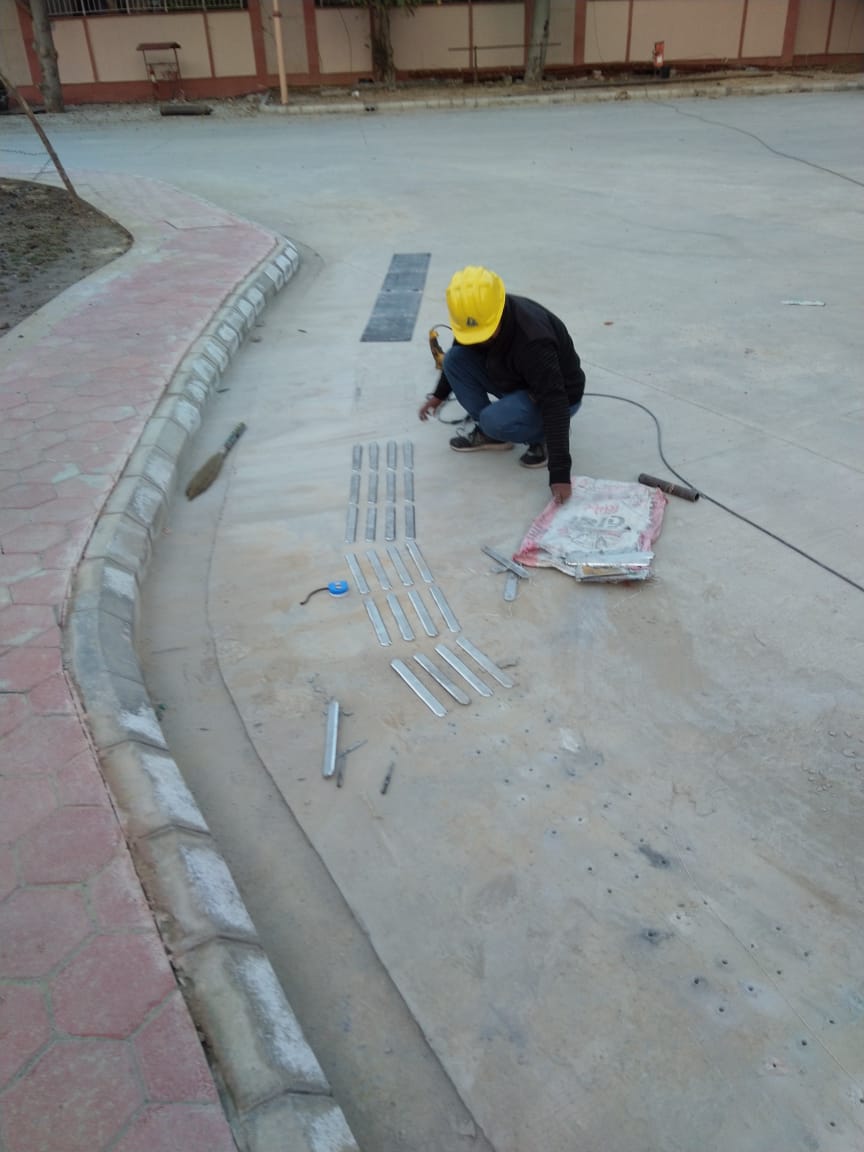
- Installation utilizes a template system and is undertaken by trained installers with specialized equipment.
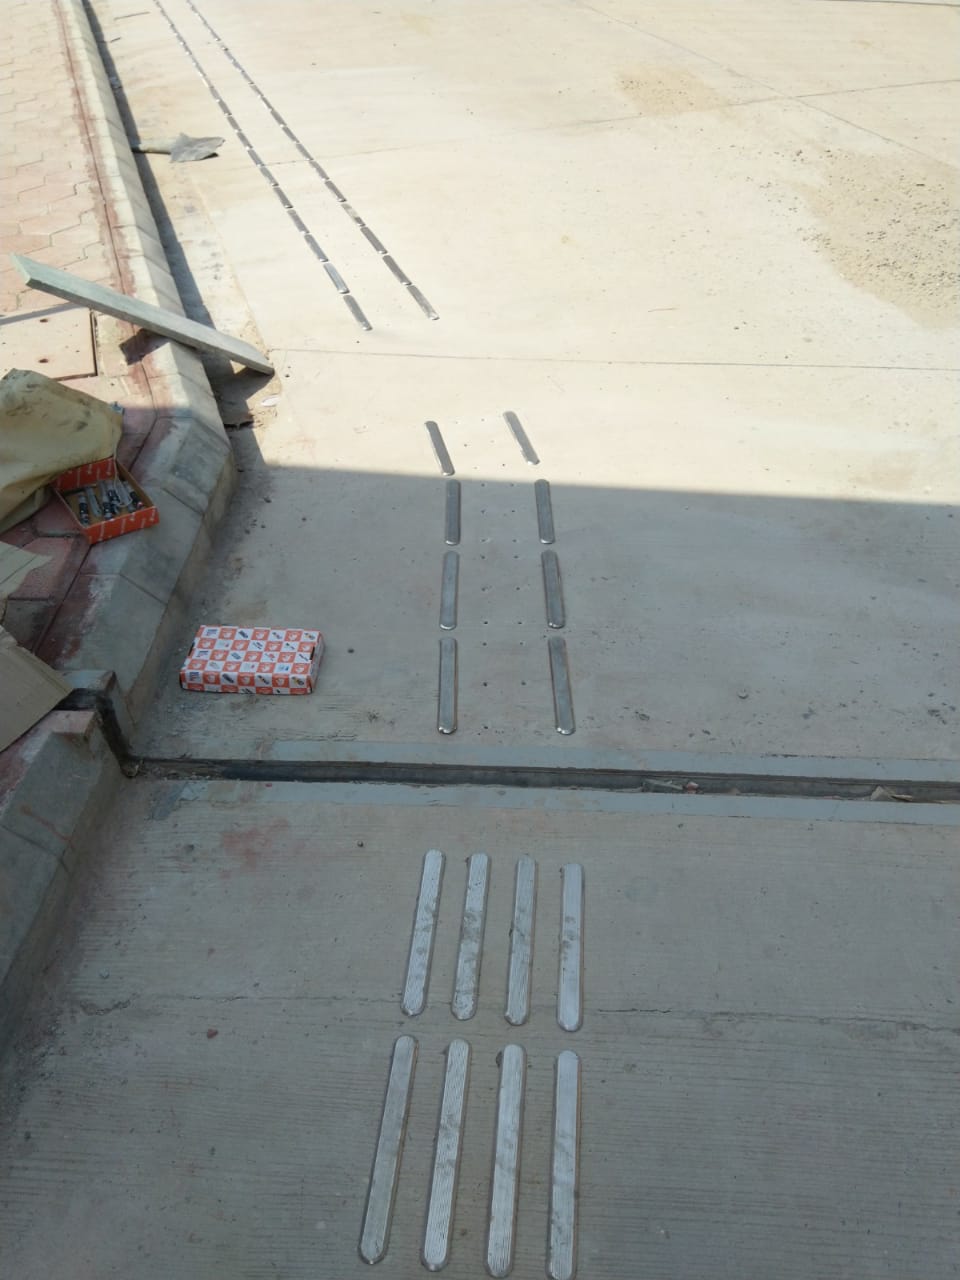
- The Tactile Indicators (warning domes and directional bars) are adhesive fixed into pre drilled holes.
- The shaft or stem ensures permanent installation.
- As each stud is installed independently and sealed with epoxy, any water retention and multiple failures are eliminated.
- Individual Tactile Indicators are installed over the existing surface leaving the
surrounding substrate visible. - Our installations are always carried out using a specially formulated two part epoxy in addition to friction fitting the studs.
- Friction and epoxy fitted shaft for installation.